In late 2023, we officially made Toronto, Canada, our new home. Arriving in a new country meant we had to figure out a list of essentials right away: finding a safe and affordable place to live, getting furniture, and learning how to get around—from using public transport to shopping for groceries. On top of that, accessing our money was a challenge since most of it was still in Malaysia. Planning for these expenses and logistics ahead of time felt really important, and we learned a lot along the way. Here’s how we managed those first steps and set ourselves up without rushing to move all our savings to Canada right away.
1. Staying Connected
With so much going on and new places to navigate, we knew staying connected was a top priority. Our first choice was Rogers since it was the first mobile provider I saw at Scarborough Town Centre! I work for a U.S.-based company, so I needed a mobile plan that covered Canada, the U.S., and Mexico—this ended up being a little more expensive than a typical local plan. However, for most newcomers, going with a plan that’s local to Canada will save you quite a bit.
For anyone moving here, I’d suggest shopping around first. Rogers, Bell, Freedom Mobile, and Telus all offer different deals, and each might suit your needs differently. About two months in, we started looking for a home internet plan. After comparing a few options, we went with Bell, which gave us the best deal. By switching my mobile plan to Bell as well, I was able to lower our monthly bill even further.
With Black Friday coming up, we’ll be checking out other providers again to make sure we’re getting the best deal. Since we went with a no-contract plan, we can easily switch providers if we find something better.
2. Finding a Place to Live
Some people have family or friends to stay with while they search for an apartment, but we didn’t have that option. We decided to book an Airbnb for our first month to give us time to look for a rental. While this did add an extra cost, it gave us the flexibility and security to start our search without rushing.
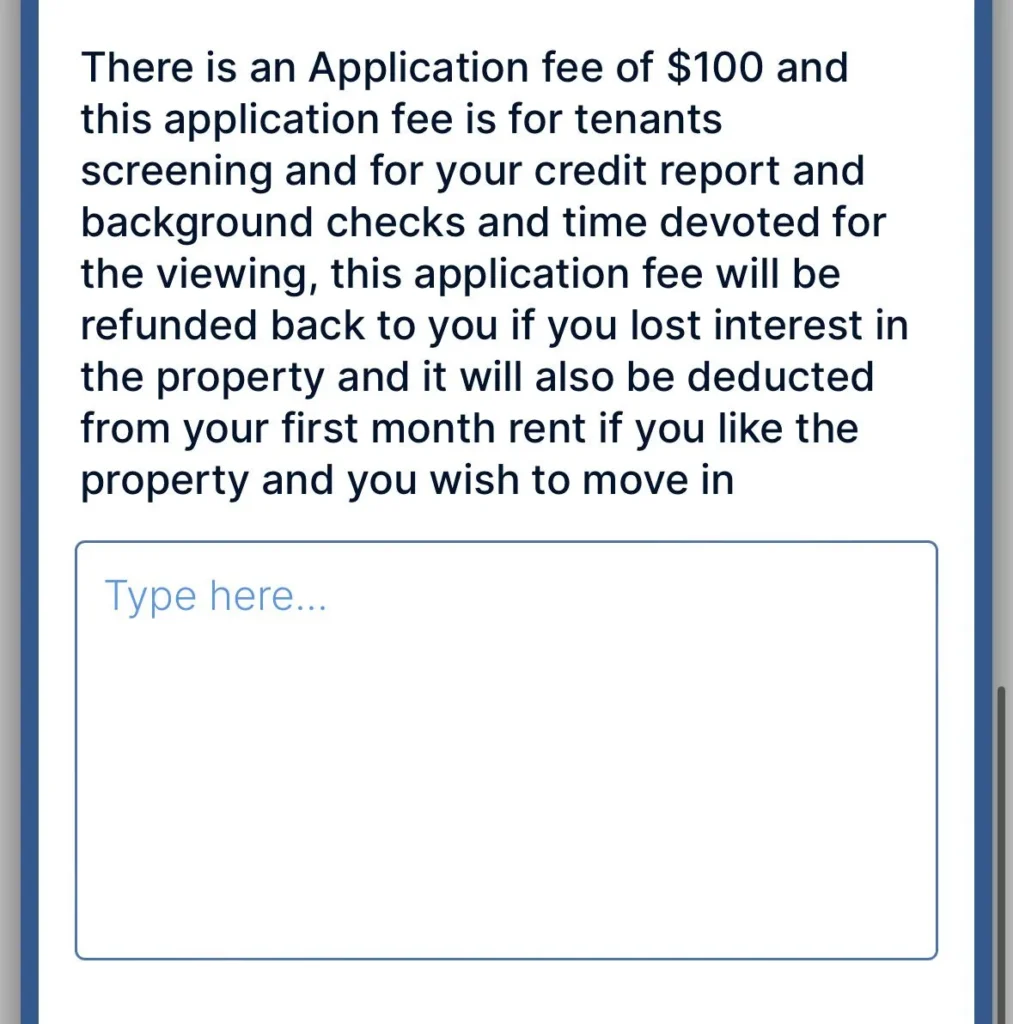
We used Realtor.ca and Facebook Marketplace to look at different options. But having a local realtor really made a difference. They took care of the logistics for booking viewings, and since they’re paid by the landlord, it didn’t cost us anything. Tip: Avoid any realtor who asks for upfront fees or viewing charges, as these are usually scams. A professional realtor should never charge tenants to show rental properties.
Once we found a place, we had to submit a few documents to complete our rental application: ID, references, a job offer letter, and proof of funds. You don’t need to transfer all your money to Canada right away, but you’ll need to show that you can comfortably cover your rent and other expenses.
Pro Tip: For bank statements, only show your name and account balance—you can block out transaction details for privacy. Similarly, when submitting ID, cover any unnecessary information like your old address or ID number.
When our offer was accepted, we had to provide a bank draft for the first and last month’s rent. A bank draft means the funds are withdrawn immediately, so be sure you have the right amount in your Canadian account.
Lastly, we set up our utilities. In our case, the landlord covers the water, but we handle the hydro (electricity) and internet. These arrangements can vary, so always double-check what’s included in the lease.
3. Furnishing Your Space
In Malaysia, most rentals come fully furnished, so starting from scratch was a new experience for us. We turned to IKEA for affordable, quality basics, along with Wayfair Canada, Home Furniture, and Ashley Canada for a bit more variety. Furnishing a home can get expensive quickly, so we stuck to the essentials for the bedroom, living room, kitchen, and home office. If you’re okay with secondhand items, Facebook Marketplace and Karrot are great for finding deals.
One of the best places we discovered for setting up on a budget is Dollarama. It’s technically a dollar store, but most items range from $4 and up. You’ll find almost everything you might need for your home—kitchen items, decorative pieces, even some grocery items like snacks (though no fresh goods). If you’re moving to Canada and don’t want to spend too much at first, Dollarama is a great place to start. They have tons of locations, so if you’re in Toronto or any big city, there’s a good chance you’ll find one nearby.
We spent around $3,000 on the essentials for the bedroom, living room, kitchen, and home office. Since we didn’t have a high credit limit yet, we paid for everything in cash, so planning for these expenses upfront really helped.
4. Grocery Shopping
With our new place ready, it was time to stock up on food and household supplies. Our first month’s grocery bill was over $500 since we had to build up our pantry from scratch. Since it’s just the two of us, we decided to get a Costco membership for $60 annually. Buying in bulk helps us save on essentials, and for smaller quantities, we rely on Food Basics, which has some of the best prices compared to nearby stores.
Learning where to find the best deals is key in Toronto, as grocery prices can vary a lot. Checking out local farmers’ markets and seasonal sales can also help stretch your budget.
5. Pet Supplies
Moving with pets means extra essentials, especially with the big climate change. Our dogs went from tropical weather to the colder Canadian seasons, so we had to find coats, boots, and other gear. Canada Pooch was a lifesaver for quality, weather-ready pet clothing. We also found affordable pet food and treats at PetSmart.
Grooming costs are higher in Toronto, so we had our dogs groomed right before we moved. This allowed us to delay their next grooming session until we had settled in a bit more.
A Few Tips for Managing Expenses as a Newcomer
Relocating can feel financially overwhelming, but with a bit of planning, it’s manageable. Having a job lined up before we arrived helped us rely on my salary for initial expenses, so we didn’t have to dip into our emergency funds right away. For newcomers without employment yet, creating a budget is essential to help stretch your savings further.
Another thing to think about is how to transfer your savings to Canada once you’re settled. Since we had some time, we’ve been exploring the most cost-effective ways to move our funds. There are plenty of options, including wire transfers and services like Wise, which offer lower fees than traditional banks.
Hopefully, our journey provides some useful tips for anyone planning a move to Canada. Don’t rush things—focus on the basics, and give yourself time to adjust. Each step you take builds a solid foundation, and soon enough, you’ll feel right at home!
